Physical Address
304 North Cardinal St.
Dorchester Center, MA 02124
Physical Address
304 North Cardinal St.
Dorchester Center, MA 02124
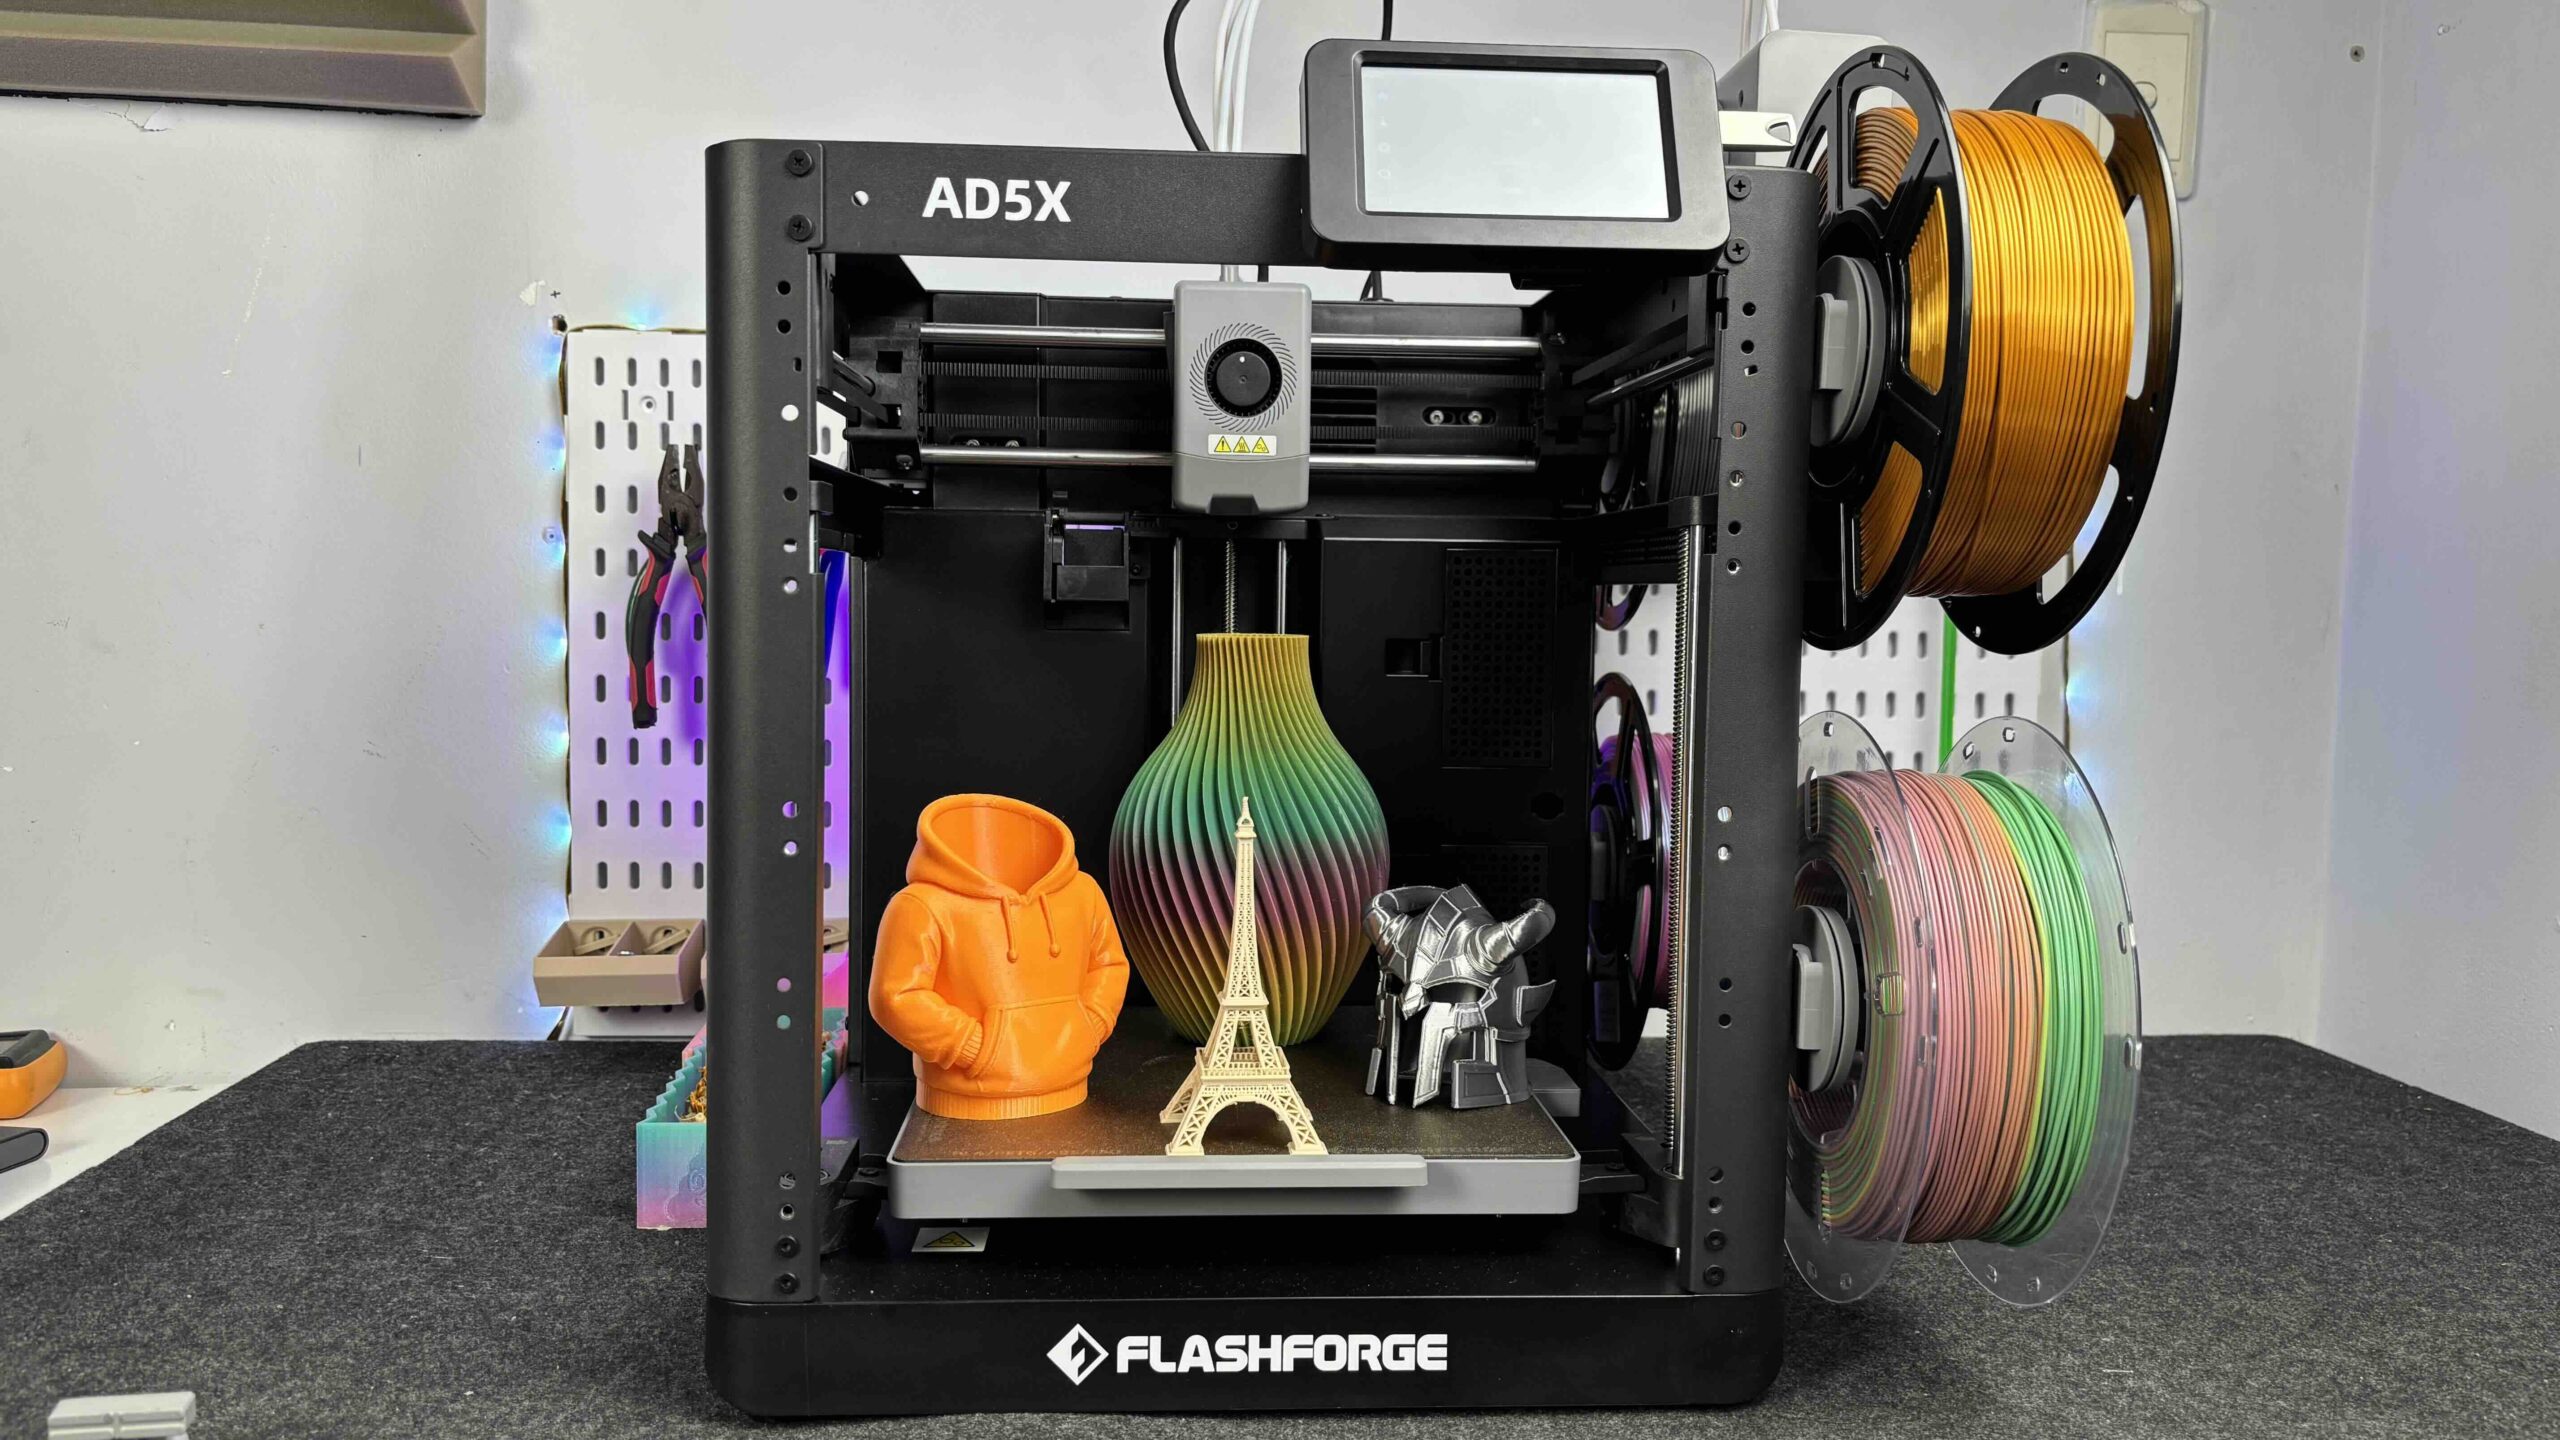
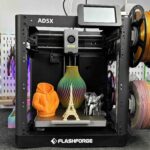
The Flashforge AD5X is a new multi-color 3D printer with a 4-color IFS system and TPU 95A support. In this article, we walk through the unboxing, setup process, and first print to see how easy it is to get started right out of the box.
The Flashforge AD5X is the newest model in the Adventurer lineup and one of the few consumer 3D printers that supports multi-color printing with TPU 95A right out of the box. While its multi-color capability is a big highlight, in this article we’ll focus on something many users care about first: how easy it is to set up and how well it performs on the first print.
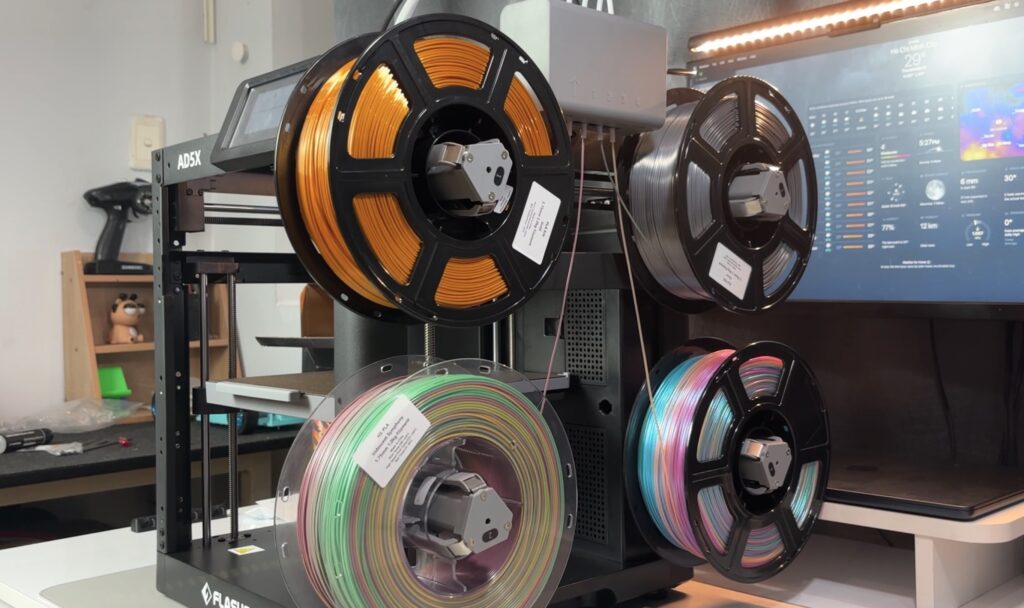
Built on the proven foundation of the AD5MP, the AD5X keeps the same user-friendly design philosophy that the Adventurer series is known for. It comes mostly pre-assembled and introduces a new 4-color Intelligent Filament System (IFS) with side-mounted spools. This layout not only saves space but also simplifies filament loading and color management during setup.
In this review, we’ll walk through the unboxing, assembly process, initial setup, and calibration, then move straight into the first print experience. The goal is simple: to see how quickly a new user can go from opening the box to getting a successful print, and whether the AD5X delivers a smooth out-of-the-box experience.
Before diving into the setup, here’s a quick look at the core specs:
These specs show that the AD5X isn’t just beginner-friendly — it’s also built for high-temperature materials and relatively high-speed printing, which makes it interesting for both hobby and semi-professional use.
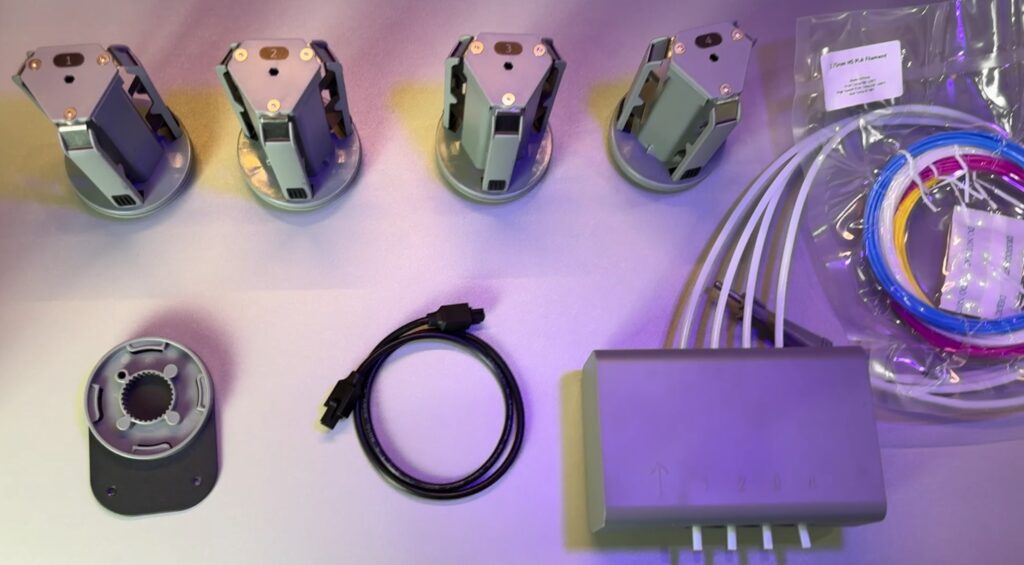
Inside the box, Flashforge includes everything needed for setup and your first prints:
Overall, it’s a complete starter kit — no extra tools required to begin printing.
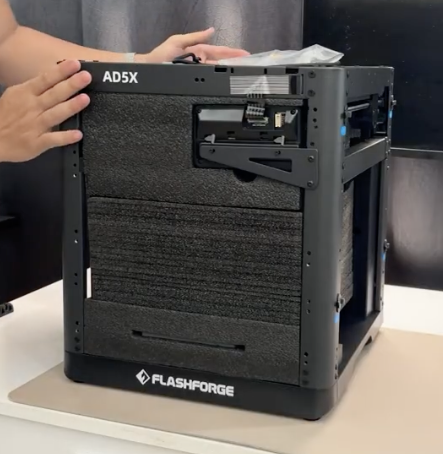
The Flashforge AD5X arrives largely pre-assembled, so getting it ready doesn’t take much time. The main steps include removing packing materials, attaching the touchscreen to the front, installing the IFS bracket, and mounting the IFS module.
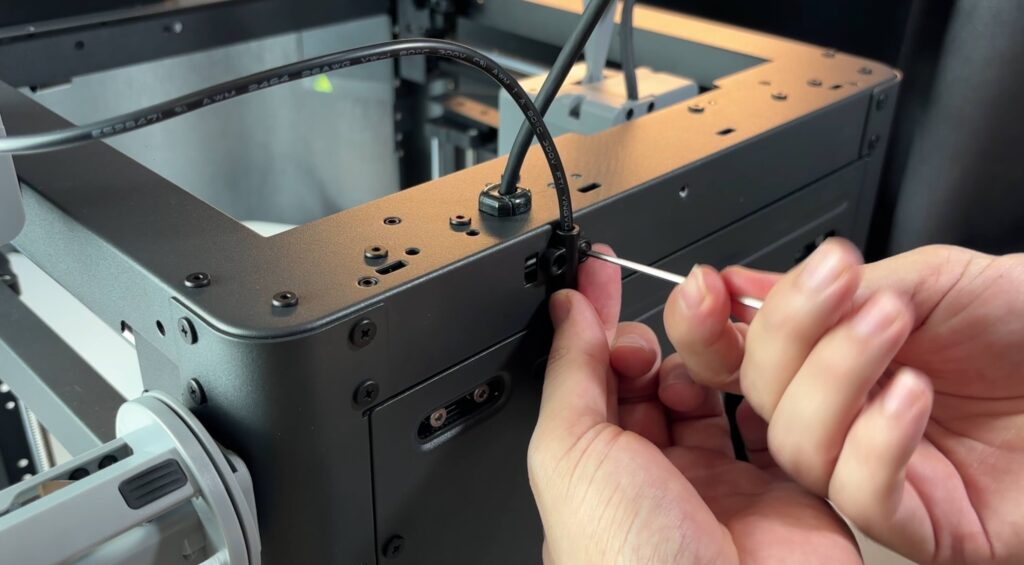
You then connect the Bowden tubes from the IFS to the print head, slide the four spool holders onto the side mounts, and plug in the IFS control cable, securing it neatly at the back with the included cable clip.
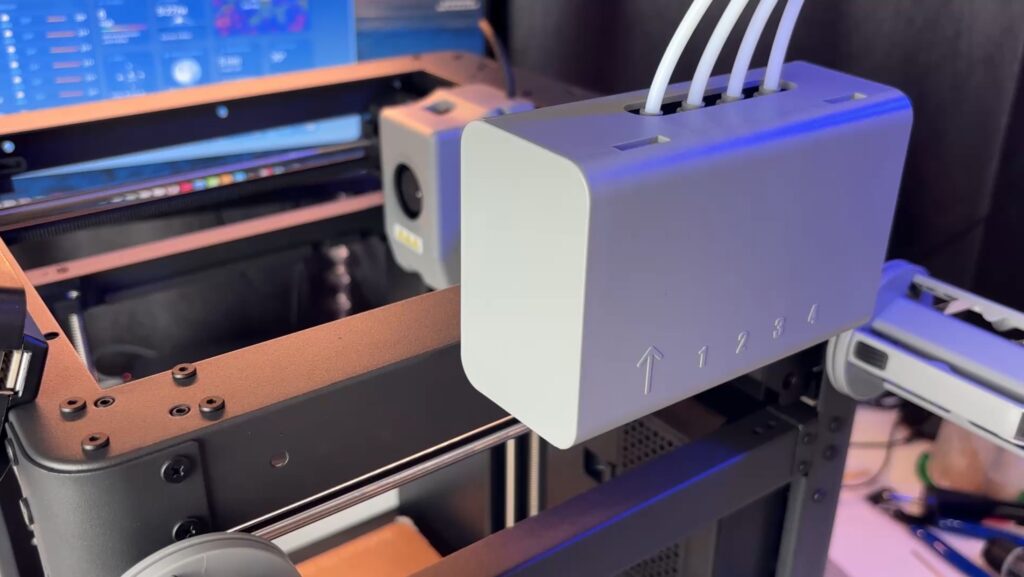
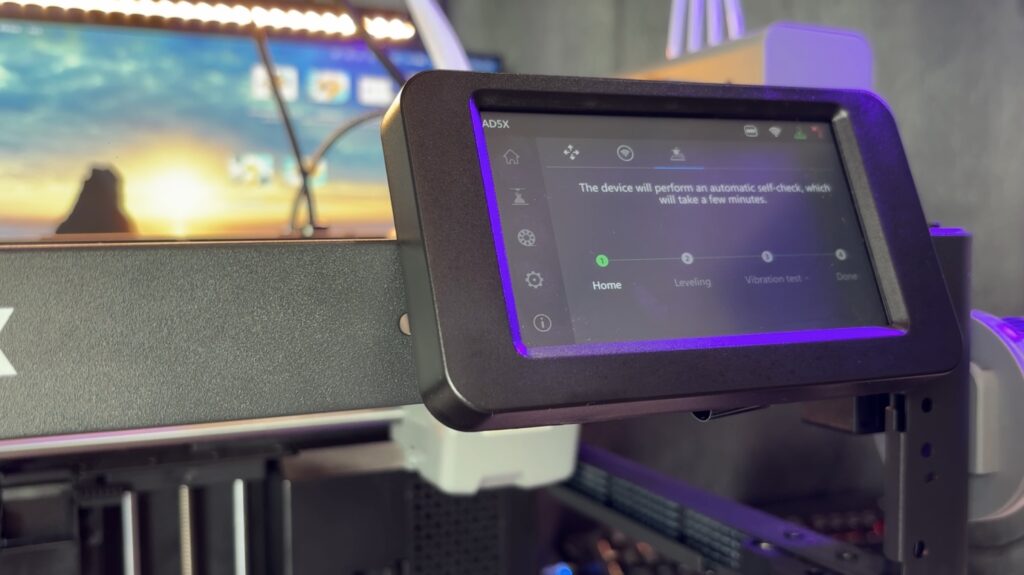
Before turning the printer on, don’t forget to remove the three shipping screws under the build plate. They are marked with arrow stickers and are easy to spot. Once powered on, the touchscreen walks you through the initial setup and calibration steps, making the first-time setup very beginner-friendly.

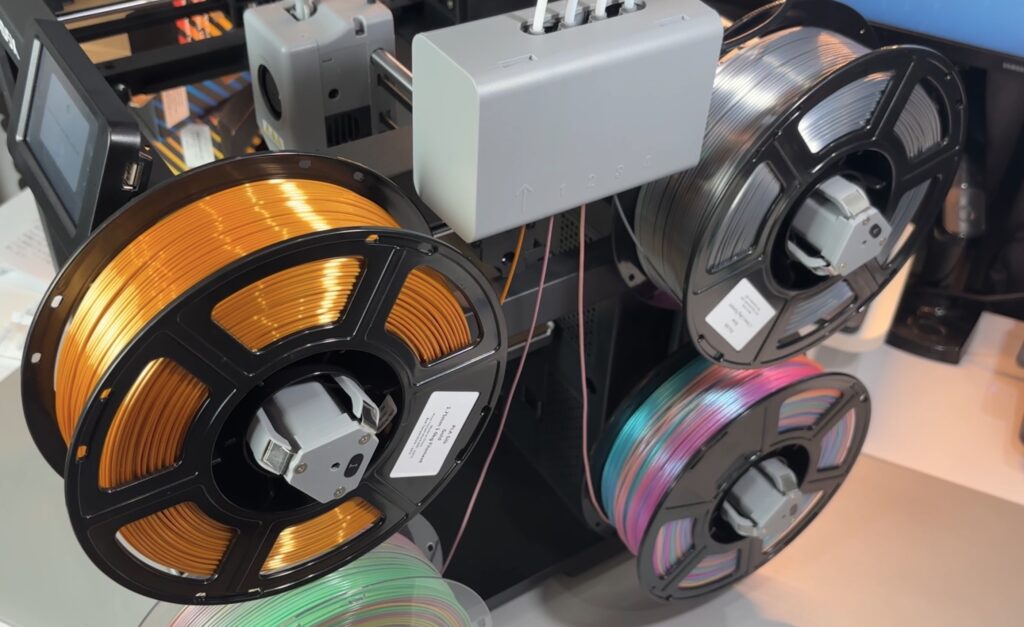
Loading filament on the AD5X is straightforward thanks to the IFS system. Each spool mounts on the side holder and feeds directly into the IFS through short Bowden tubes, keeping the path organized and reducing friction.
For a complete step-by-step setup guide, be sure to watch the full video.
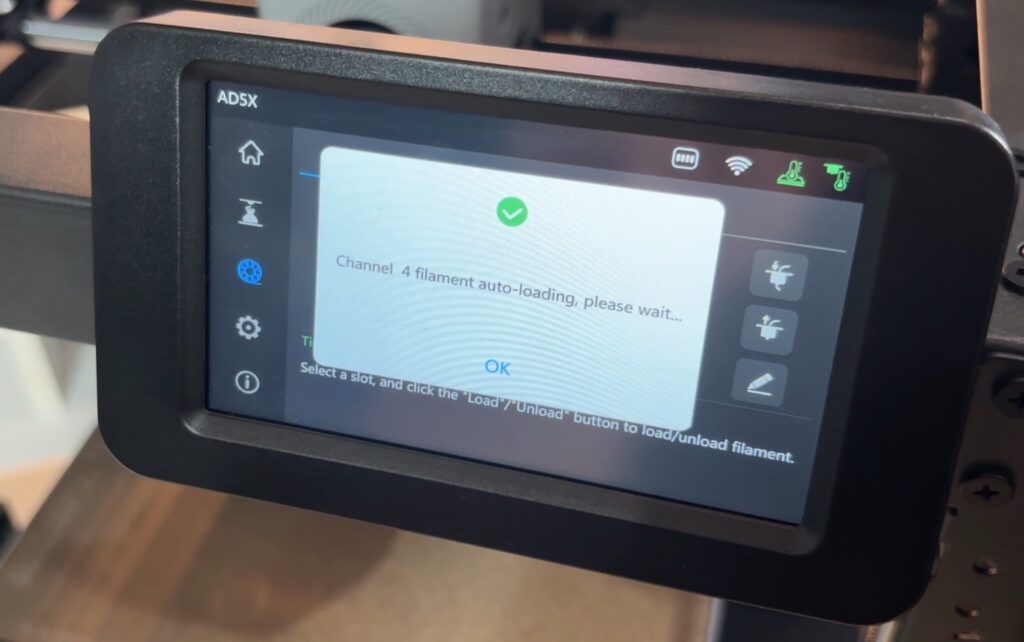
To load filament, you simply insert the filament into the feeder port on the IFS and use the touchscreen to select Load Filament. The printer automatically heats the nozzle and pulls the filament through to the hotend. The process is guided on-screen, so even beginners can follow it without confusion.
For multi-color setups, each filament slot is managed individually, making color assignment simple in the slicer. The light tension on the spool holders also helps prevent loose filament loops, which can reduce feeding issues during long prints.
The AD5X uses the same rigid metal frame as the AD5MP, giving it a solid and stable structure during high-speed printing. An optional enclosure is available for users printing temperature-sensitive materials, and DIY enclosure frames can also be printed if you source your own acrylic panels.
The side-mounted spool system is a practical choice. Each holder has light recoil tension to reduce filament slack and improve feeding reliability into the IFS.

The printer also supports an optional built-in camera for remote monitoring and time-lapse recording, which is useful for long prints.
Thanks to the compact footprint and side spool layout, the AD5X takes up less desk space than many multi-color systems that rely on large external AMS-style units.
The 4.3” color touchscreen follows Flashforge’s familiar Adventurer-style UI. The layout is clean and straightforward, letting you quickly access leveling, filament loading/unloading, IFS controls, and print management. Even first-time users should feel comfortable navigating it within minutes.
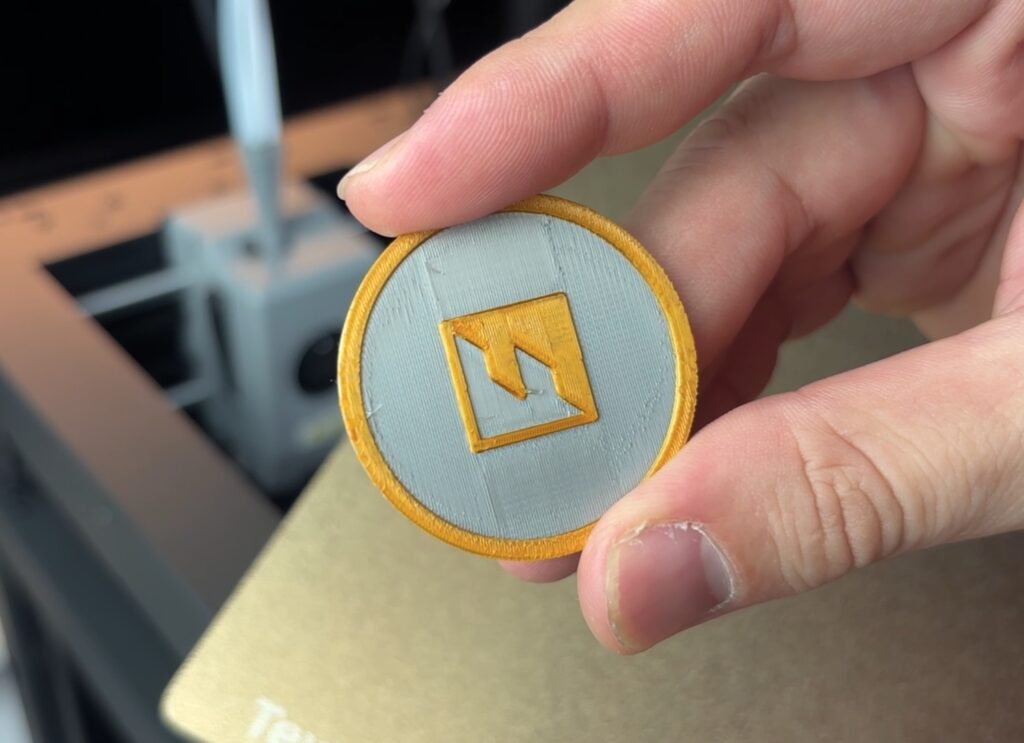
Before jumping into our own models, we started with the preloaded Flashforge test file available directly on the AD5X. This is a nice touch for new users since it removes the need to slice anything for the very first print.
Using the touchscreen, you just open the file list, select the Flashforge test model, confirm the filament slots, and press print. The printer then automatically handles homing, heating, and filament preparation.
The interface clearly shows temperatures, progress, and printer status, so it’s easy to follow what’s happening. For beginners, this guided workflow makes the first print feel simple and stress-free.
Once we confirmed everything was working as expected, we moved on to the default multi-color Benchy to see how the AD5X handles color transitions and print quality.
Multicolor PLA – Benchy (Default Test Print)
For the first print, we used the default multi-color Benchy file provided by Flashforge. This is the preloaded test model designed to showcase the printer’s color-changing capability and out-of-the-box calibration.
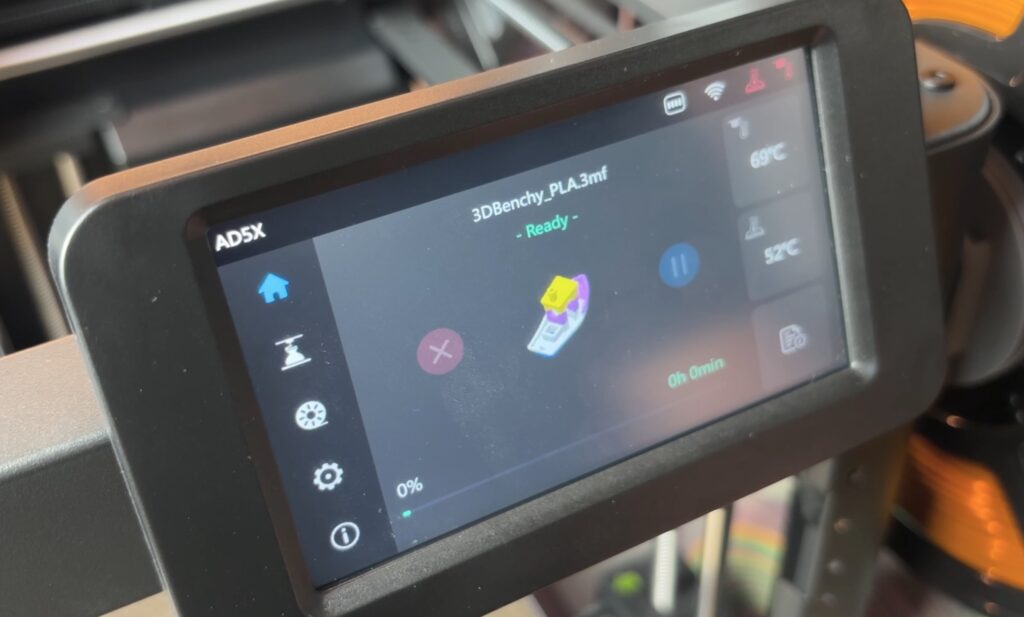
Since the file is already tuned for the AD5X, there was no need to adjust slicer settings. We simply selected the file, confirmed the filament positions, and started the print.

The result showed what you’d expect from a factory test model:
The IFS handled the filament changes smoothly, and the printer paused and resumed transitions without issues. Purge waste was present, as with any multi-color system, but nothing unusual.
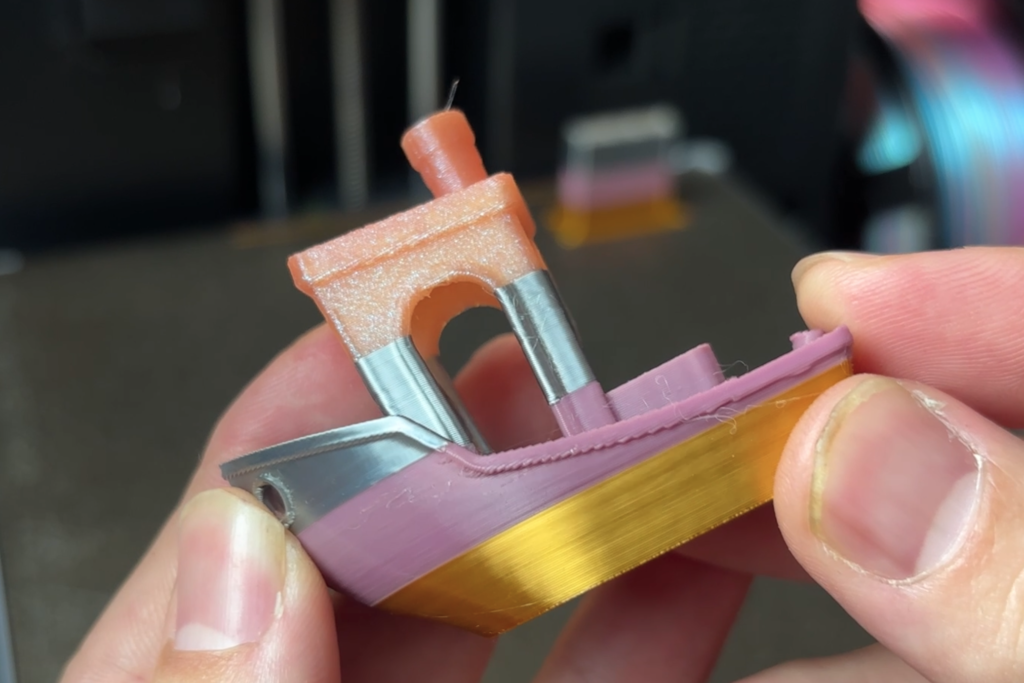
As a first print, this default Benchy is a good confidence booster. It demonstrates that the AD5X is well-calibrated from the factory and capable of producing clean multi-color prints right away.