Physical Address
304 North Cardinal St.
Dorchester Center, MA 02124
Physical Address
304 North Cardinal St.
Dorchester Center, MA 02124
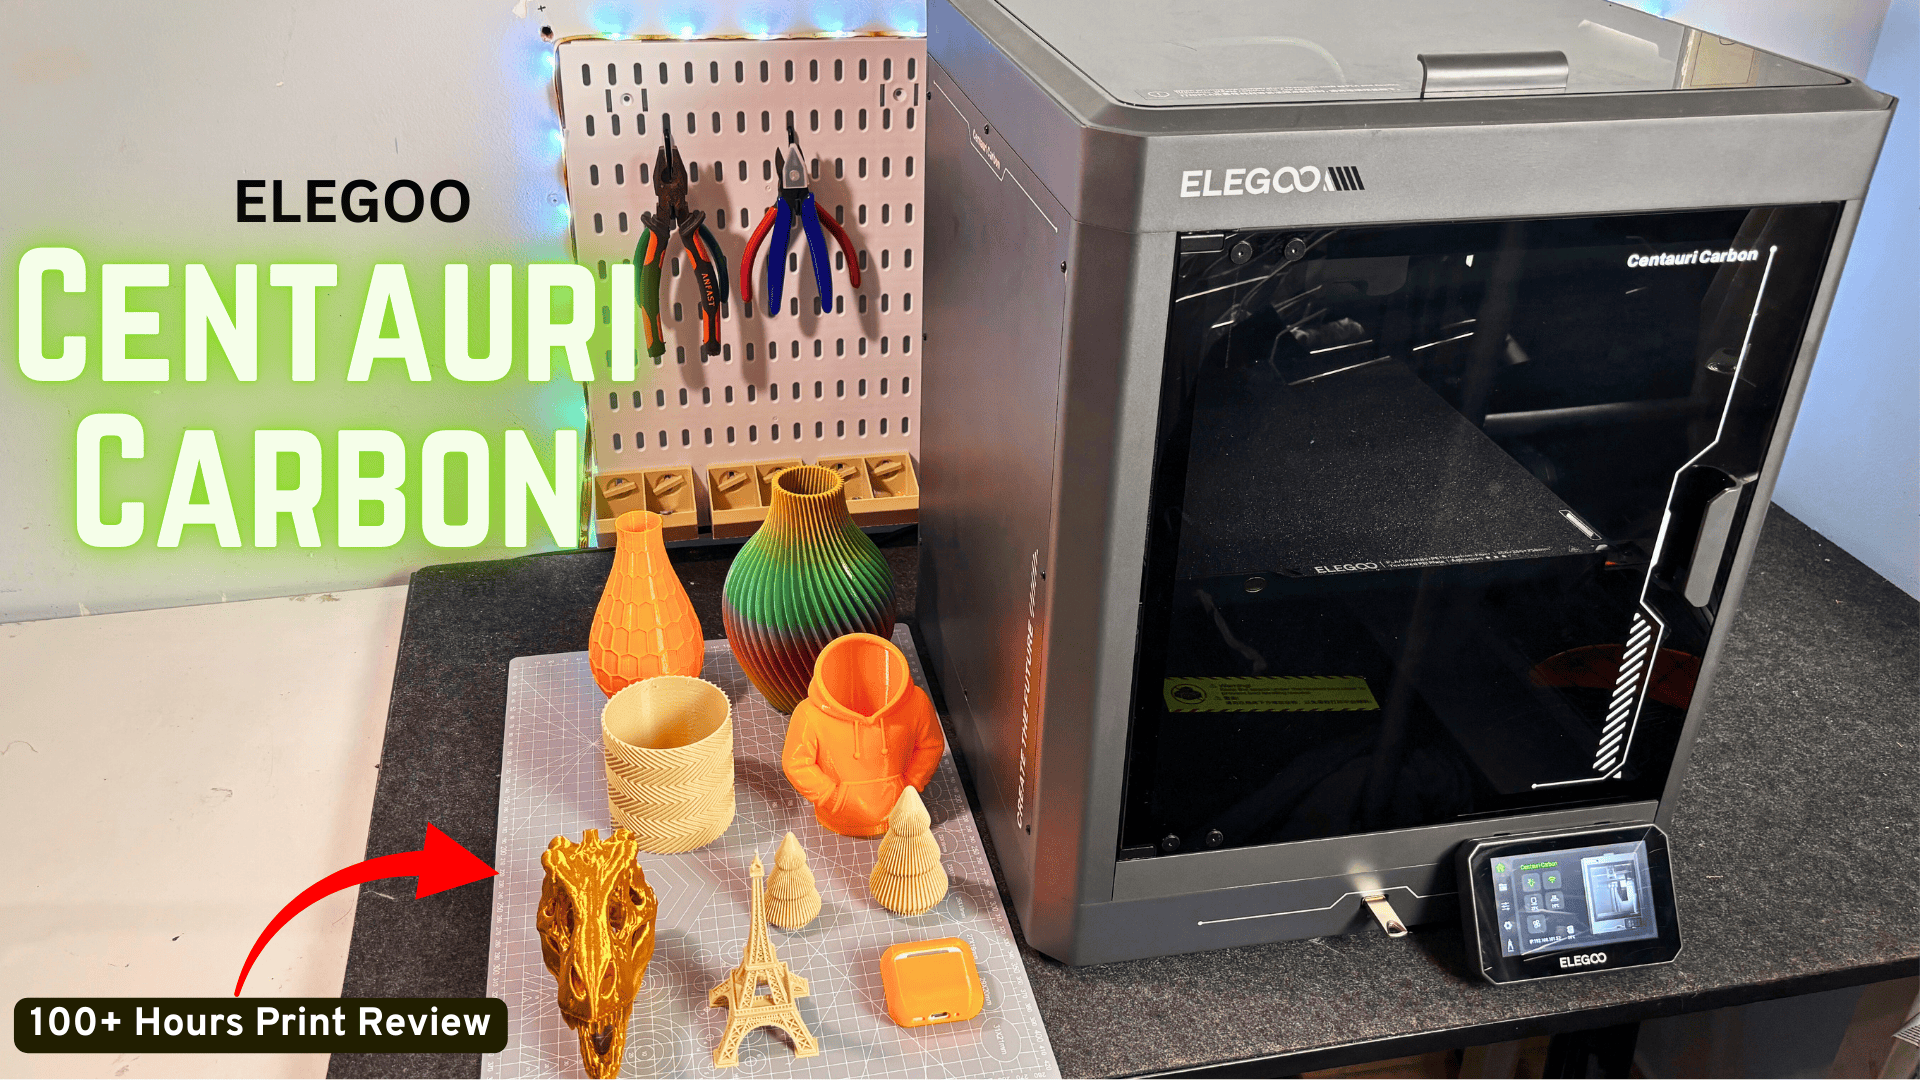
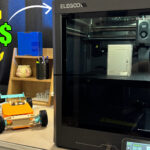
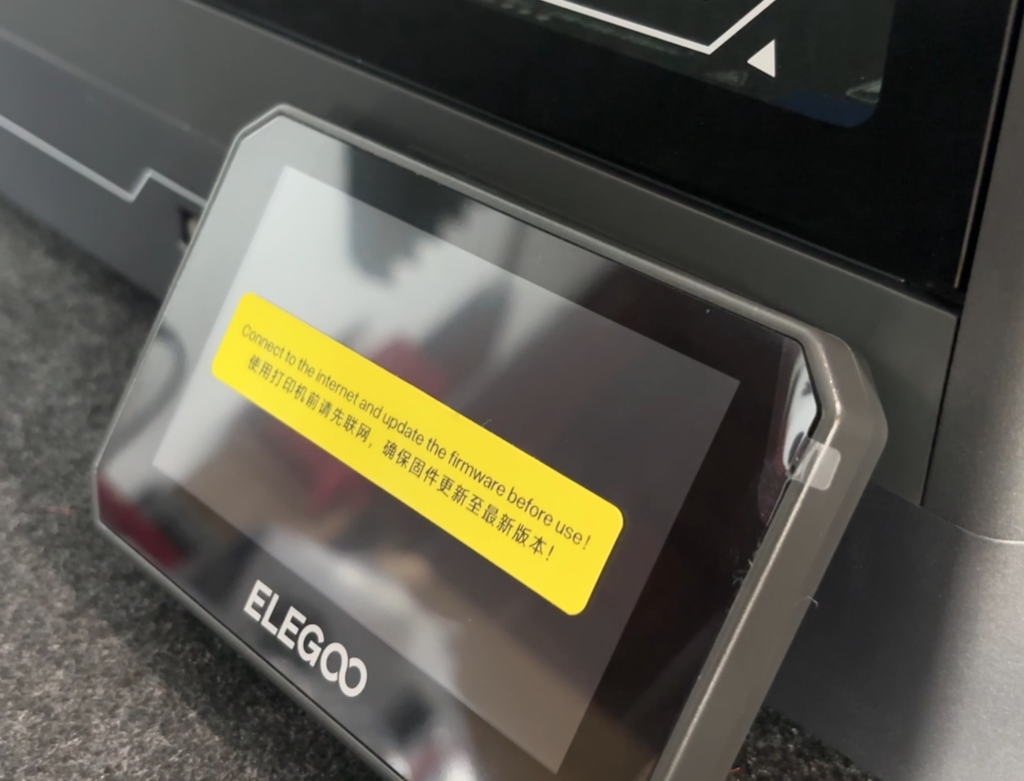
Discover our honest look at the Elegoo Centauri Carbon 3D printer unboxing and setup. We walk through what’s in the box, how the initial assembly works, and how easy it is to get the printer ready for its first calibration. Learn about the included accessories, touchscreen installation, spool holder setup, and practical tips to avoid common beginner mistakes.
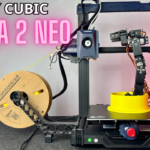
The ELEGOO Centauri Carbon arrived with one clear promise: CoreXY speed and serious material support at a budget price. On paper, it almost sounds too good to be true — an enclosed CoreXY printer with high-temperature capability, automatic calibration, and modern features that are usually found on more expensive machines.
That’s exactly why I wanted to test it myself instead of relying on spec sheets or marketing claims. I bought the printer, ran it through more than 100 hours of real printing, and used it for both everyday parts and longer functional jobs. I also spent time reading firmware notes, browsing community discussions, and doing my own hands-on tuning to understand how the machine behaves beyond first impressions.
This review is based on actual use, not just a weekend test. I wanted to see how it performs in normal daily printing — the kind where reliability, consistency, and small annoyances matter more than flashy specs.
Here’s everything I learned along the way, from unboxing and setup to dialing in stable high-speed prints and figuring out the practical quirks you’ll realistically run into.
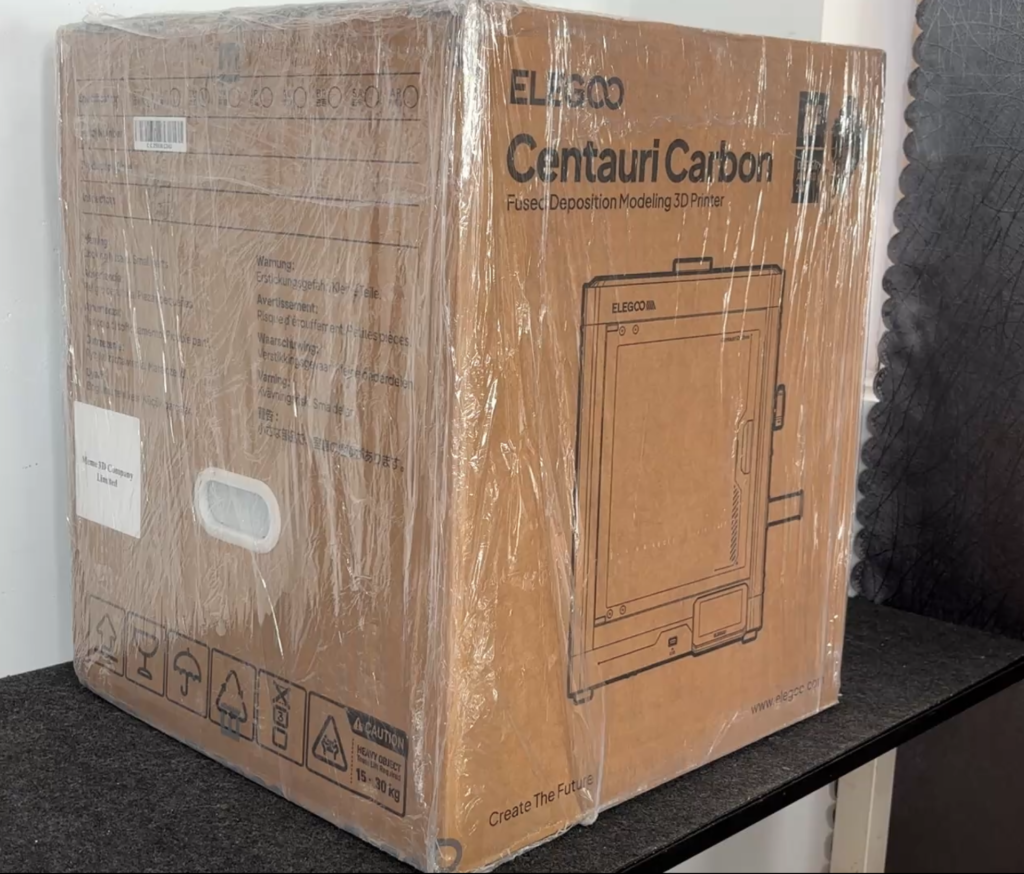
The printer arrived in very solid packaging, with everything inside well-protected by thick protective foam and neatly arranged accessories. It doesn’t feel like a flimsy budget machine — from the moment I lifted the box, you can tell this is a more serious piece of hardware compared to many entry-level FDM printers.
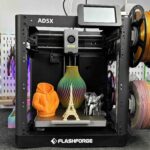
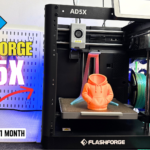
One thing I noticed right away, even before unboxing, is that the Centauri Carbon is noticeably heavier than the FlashForge AD5X (FlashForge’s new multi-color 3D printer). When I moved both printers side by side, the weight difference was obvious: the Centauri Carbon feels heavier and more solid, while the AD5X feels lighter and easier to pick up. That extra weight isn’t just about heft — it translates into better stability during high-speed CoreXY motion, helping reduce vibrations and ringing artifacts when the machine is in motion.
In other words:
this isn’t a flimsy old school printer that rattles and shakes at speed — it feels properly engineered, with a solid metal and glass cage that stays planted on the table even when printing fast.
Right out of the box, my first impression was genuinely positive. The Centauri Carbon feels solid and well-built, especially for the price bracket it sits in. The chassis uses integrated die-cast aluminum construction, which contributes both to the weight and the sense of rigidity — nothing feels cheap, and all panels align well without gaps or loose edges.
Once I got past the foam (which you’ll remove before setup) and started the first auto calibration routine, the overall build quality continued to impress. The doors, frame, and gantry all have a reassuring robustness that I haven’t always seen in machines at this price point.
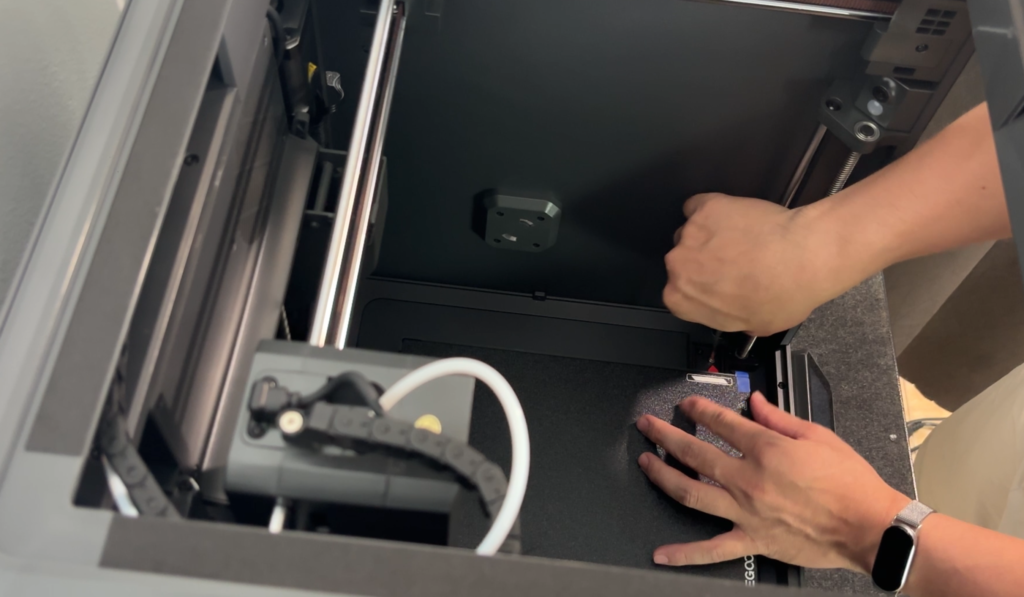
When I first opened the box, the setup process felt much less intimidating than many 3D printers I’ve used before. The Centauri Carbon comes mostly pre-assembled, so you’re not dealing with a pile of parts or a long build process. The first thing I did was lift off the top protective cover and look inside the chamber. That’s where Elegoo stores the accessories tool box during shipping. It’s a smart use of space, and everything inside was secured nicely with foam.
Taking out the tool box is basically your starting point, because it contains almost everything you’ll need for the next steps. Inside, you get the power cable, the touchscreen, the filament holder, PTFE tube, hex keys, flush cutters, scraper blades, and a few small maintenance tools. Nothing fancy, but it covers the essentials. As someone who has unboxed quite a few printers, I appreciate when manufacturers include practical tools instead of random extras you never use.


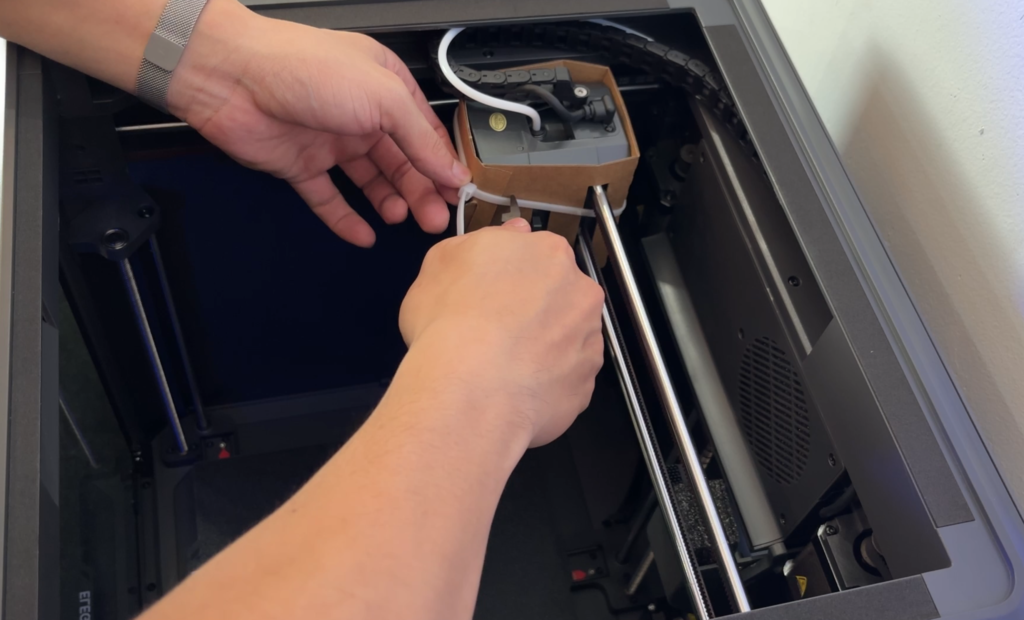
Before installing anything, I checked around the print head and noticed a small holding clip on the extruder. This clip is there to lock parts in place during shipping, and it definitely needs to be removed before turning the printer on. It’s a small detail, but if you miss it, the printer might not move smoothly during calibration. It’s one of those “simple but important” steps.
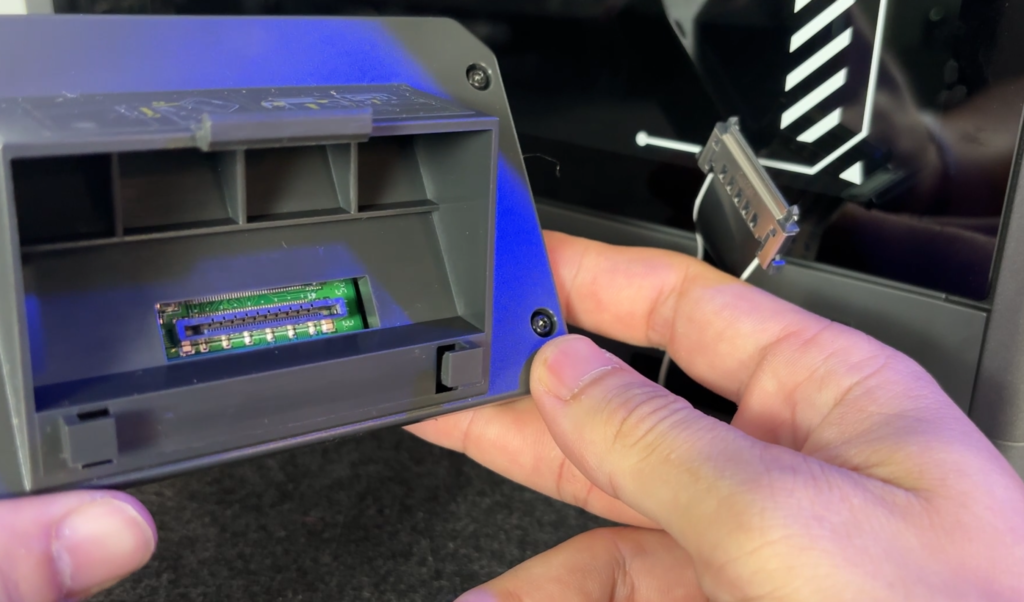
Installing the touchscreen was quick. The screen comes packed separately to avoid damage, which I actually prefer. I just connected the cable, aligned it with the mount, and attached it to the printer body. The connector only fits one way, so there’s little chance of messing it up. It took less than a minute and felt straightforward even for beginners.
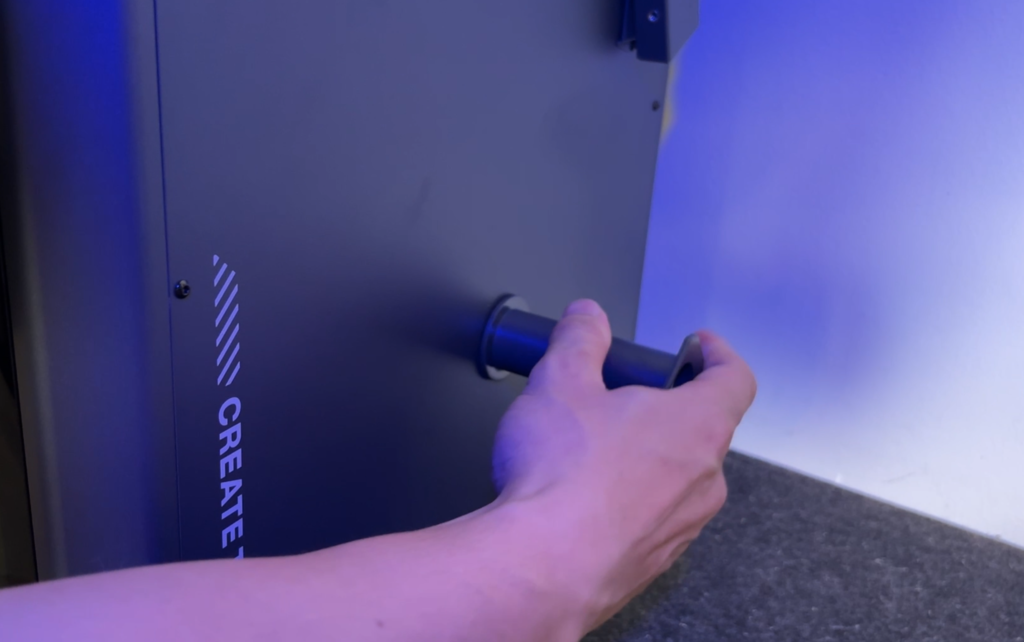
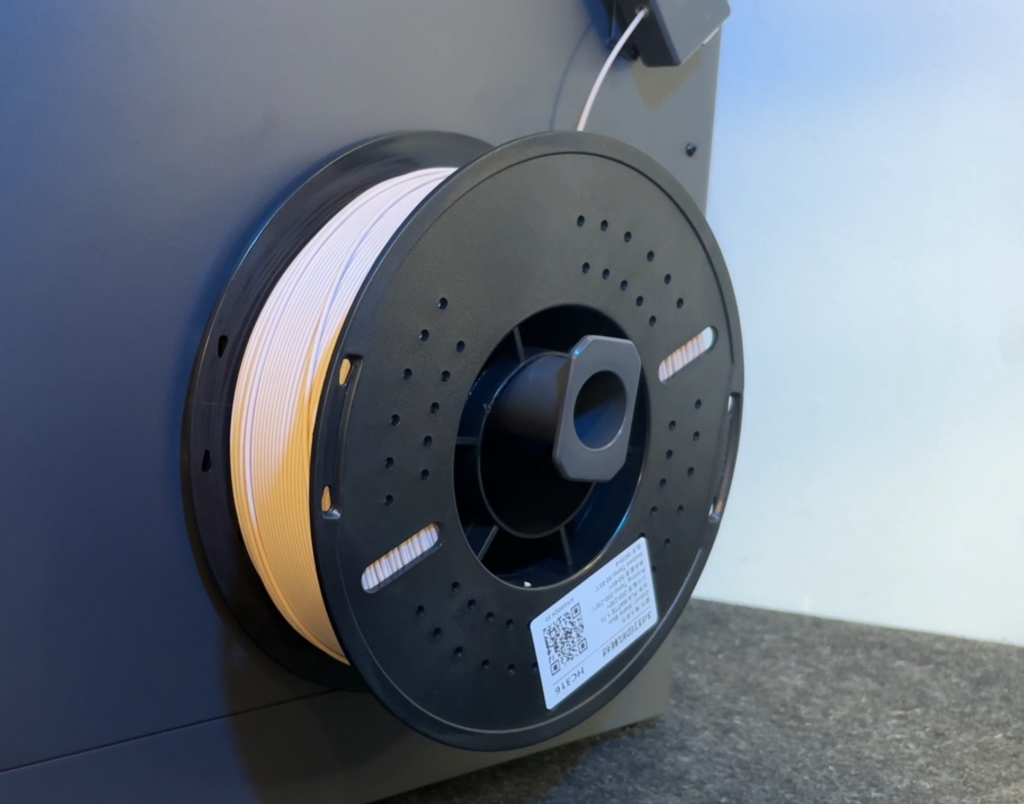
Next was the spool holder, which mounts on the right side of the printer. Using the included screws and hex keys, it was easy to secure. After mounting it, I placed a filament spool and routed the filament through the PTFE tube toward the extruder. The side mount is convenient, though I did notice the filament path angle is a bit sharp — not a deal breaker, but something you become aware of when loading filament.
Before powering on, I did a quick final check inside the machine to make sure no foam blocks or tapes were left behind. That’s a small habit I’ve developed over time, because leftover packing materials can cause strange issues later. The last thing you need to do is to remove 3 shipping screw at 3 corners of the machine. This is a really important step, so make sure you don’t miss it. Once everything looked clear and properly installed, the printer was physically ready to go.
Overall, the setup didn’t feel like “assembling a machine” — it felt more like preparing a device for first use. From opening the box to being ready to power on took me around 15–20 minutes without rushing. Compared to older DIY printers, this felt much more user-friendly and less stressful. It gives you the impression that the printer is designed for people who want to start printing, not building.
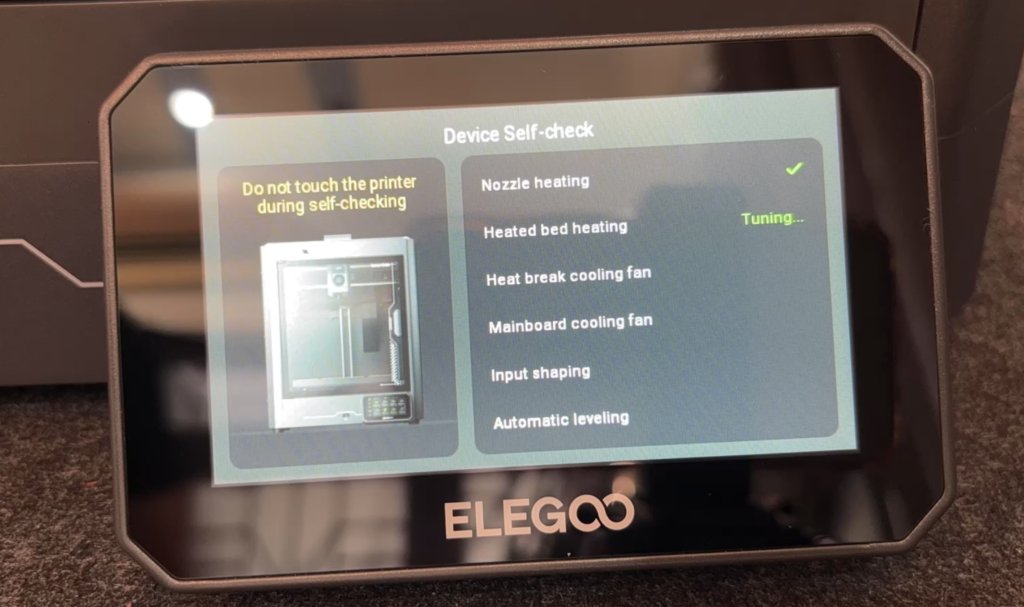
Because the machine arrives largely assembled with most key parts already installed and aligned, this part of the process is much simpler than on older CoreXY kits — you’re really just prepping it for power-on.
Once calibration is complete, the printer feels stable, consistent, and well-tuned, and I didn’t find myself constantly needing to make adjustments afterward, after several prints.
You can watch the video to see the setup process in action.
After the setup and calibration were done, I went straight into a simple PLA test print. I always like to start with something small and reliable, just to see how the machine behaves before pushing it harder.
The printer heated up fairly quickly, and what impressed me most was the first layer. It went down clean and even without me touching any Z-offset settings. Adhesion on the PEI plate was strong during the print, but once the bed cooled, the part released without a fight. That balance is exactly what you want in daily use.
The whole first-print experience felt surprisingly stress-free. I wasn’t hovering over the machine waiting for something to go wrong. I just loaded filament, started the job, and let it run. For a printer in this price range, that’s a very good first impression.
As I continued printing over the next few days, I tried a mix of functional parts and cosmetic models. Layer consistency was solid, and bridging performance was better than I expected at moderate speeds. The CoreXY motion system definitely helps keep movements smooth, especially on travel moves.
Of course, no printer is perfect. There are a few small things worth mentioning. The internal LED lighting inside the chamber is a bit dim. It’s fine for general monitoring, but when you want to closely inspect a print or change a nozzle, extra lighting would help. It’s not a deal breaker, just something you notice over time.
Another minor point is the side-mounted spool holder. It’s convenient, but the filament path angle can feel slightly sharp when loading filament. It works, and I didn’t have feeding issues, but a smoother path would make loading feel nicer.
Still, these are small trade-offs compared to what the machine offers overall. None of them affected my prints in a serious way.
After spending more time with the Centauri Carbon, the real takeaway for me is that it feels designed for people who want to print, not constantly tune. You still have room to tweak settings if you enjoy dialing things in, but you’re not forced to fight the machine just to get decent results.
At this point, the more interesting question becomes how it holds up in longer prints and higher speeds — because that’s where a CoreXY printer is supposed to shine.